
Safety in the classroom
The SO-ARM101 is a desktop arm on low voltage. It will not injure anyone seriously. It will absolutely pinch a finger, sweep a phone off a desk and jam itself against a table edge, and a room of teenagers will find every way to make that happen.
Read this first
There is no physical emergency-stop button
The kit does not include a hardware stop. What exists is:
- The on-screen STOP button — bottom-left, whenever an arm is connected. Also Space, or Esc twice.
- The power. Pulling the arm's supply is the real, final stop.
Decide before the first session which socket or switch each arm uses, make sure it is reachable without leaning over the arm, and tell the class.
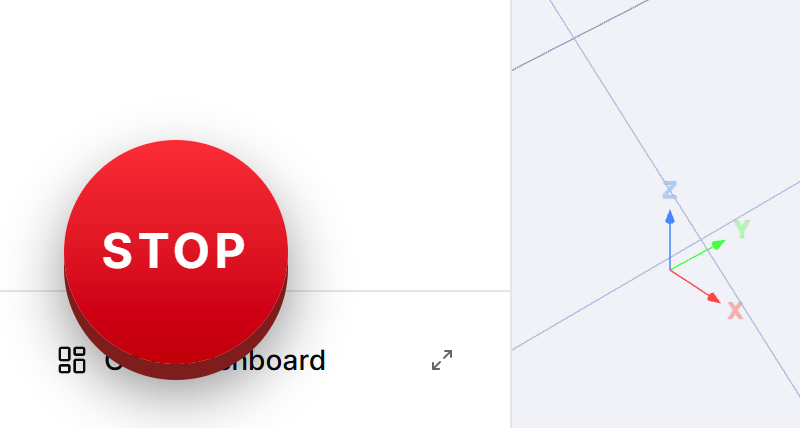
The software stop limits the motors' speed and commands them to hold position, then blocks the screen:
Emergency stop activated. For your safety the robot is blocked. Please power the robot off and on, then reload the app.
That state persists in the servos themselves, so the arm must be power-cycled before it will work again. Learners who trigger it and then just reload will meet Motor speed is still limited from a previous emergency stop and need telling why.
The five rules from Module 0
Every learner reads these and answers a question on each. Establish them in the room as well, on day one:
- Keep the work zone clear. Nothing inside the arm's reach that should not be hit — hands, faces, phones, drinks.
- Know how to stop it — the button, the keys, the plug.
- Power off before anything physical. Changing a gripper, reseating a horn, freeing a jam.
- Never run unattended, especially a freshly recorded sequence.
- Mind the pinch points. The gripper and every joint close on themselves.
Rules to add for a group
- Two people per arm, with defined roles. The driver has the keyboard; the spotter watches the work zone and keeps a hand near the power.
- Hands off a powered arm. Posing by hand is only for a disconnected or deliberately limp arm, which is what the Lab gives you after connecting.
- Nothing on the desk that is not part of the exercise.
- Announce before running a recorded path. "Running" out loud, then run.
- Long hair tied back, sleeves and cords clear of the gripper.
- Report and stop. Anything that binds, grinds or smells hot: power off, tell the teacher. Do not diagnose a powered arm.
Drill it once
Module 5 contains an emergency-stop exercise. Run it as a whole-class drill the first time an arm moves under program control: everyone triggers the stop, sees the block, power-cycles and reconnects. Five minutes, and it removes the hesitation that otherwise costs the first real incident.
The moments to watch for
| When | Why |
|---|---|
| First connection | The arm goes limp as torque is released. Something unsupported can drop. |
| First autonomous replay, Module 5 | The first time it moves without a hand on the keyboard. |
| Module 6, pencil in the gripper | A rigid object extends the arm's reach and can catch. |
| Any tool, as opposed to a lesson | Tools command motion directly, with one confirmation and no scaffolding. |
| After an emergency stop | The arm is speed-limited and behaves unexpectedly until power-cycled. |
Power-down at the end
Park each arm folded low, power off, then unplug the USB. Coil the cable with the arm. An arm left in a high extended pose will sag onto the desk when the power drops.
