
The course, module by module
Twelve modules, in a fixed order. A module opens when the one before it is finished. The column Arm says whether that module needs a physical or virtual arm connected.
0 — Introduction
Arm: not needed. Seven steps.
What a six-axis manipulator is, who the course is for, how it is structured, and the safety rules. This is the only module with multiple-choice checkpoints: the safety section is a carousel of five topics — work zone, emergency stop, powering down, supervised running, pinch points — each followed by a question you have to get right.
It ends with the equipment checklist, which is also reproduced in What you need.
1 — Robot assembly
Arm: not needed until the end. Seven steps.
Choose a track at the start: building from scratch or a ready-made kit.
You get the parts list, a servo teardown — motor, gearbox, encoder, controller — and five build stages with photographs and video: base and joint 1, shoulder and joint 2, elbow and joint 3, wrist and joint 4, gripper and joints 5 and 6. If you are printing your own parts, the STL bundles are linked here.
Then the part people underestimate: giving each motor its own ID. The servos share one two-wire bus that carries power and data, daisy-chained from the board through motors 1 to 6, and they all leave the factory with the same ID. The lesson walks you through assigning 1 to 6 with only that motor connected — if two are attached it says so and refuses. Finally it checks the whole bus at once.
2 — Connection and anatomy
Arm: required. Five steps.
The first module with the real arm and the 3D view side by side. Connect, switch on anatomy mode, then click the highlighted parts in the viewport to learn their names: base, shoulder, upper arm, lower arm, wrist, gripper. Then the six joints J1–J6, what a degree of freedom is, and the three coordinate frames you will use for the rest of the course — base, user and tool.
3 — Calibration
Arm: required. Five steps.
Zero positions, the checks that prove them, encoder resolution, and measured repeatability and accuracy. Described in full in Calibration.
4 — Teleoperation
Arm: required. Six steps.
Driving the arm yourself, from the keyboard, with the shift-key enable. Tasks:
- rotate joint 5 to exactly 45°;
- map the workspace by probing a grid of points and finding which are fully reachable, which are reachable but awkward, and which are outside it altogether;
- get around a cylinder without hitting it — the lesson notices collisions and tells you Goal reached — with collisions;
- move a real cylinder from one zone to another.
5 — Pick and place
Arm: required. Five steps.
Motion planes, gripper types, and how hard to squeeze — there is a force scale with a light, a correct and an excessive zone, and you have to hit the right one. There is an emergency-stop drill.
Then the core of it: record a sequence — approach, grasp at a controlled force, transfer, release — stop recording, read the summary of what was captured, and play it back with the arm doing it on its own.
6 — End-effector work
Arm: required. Six steps. The longest module.
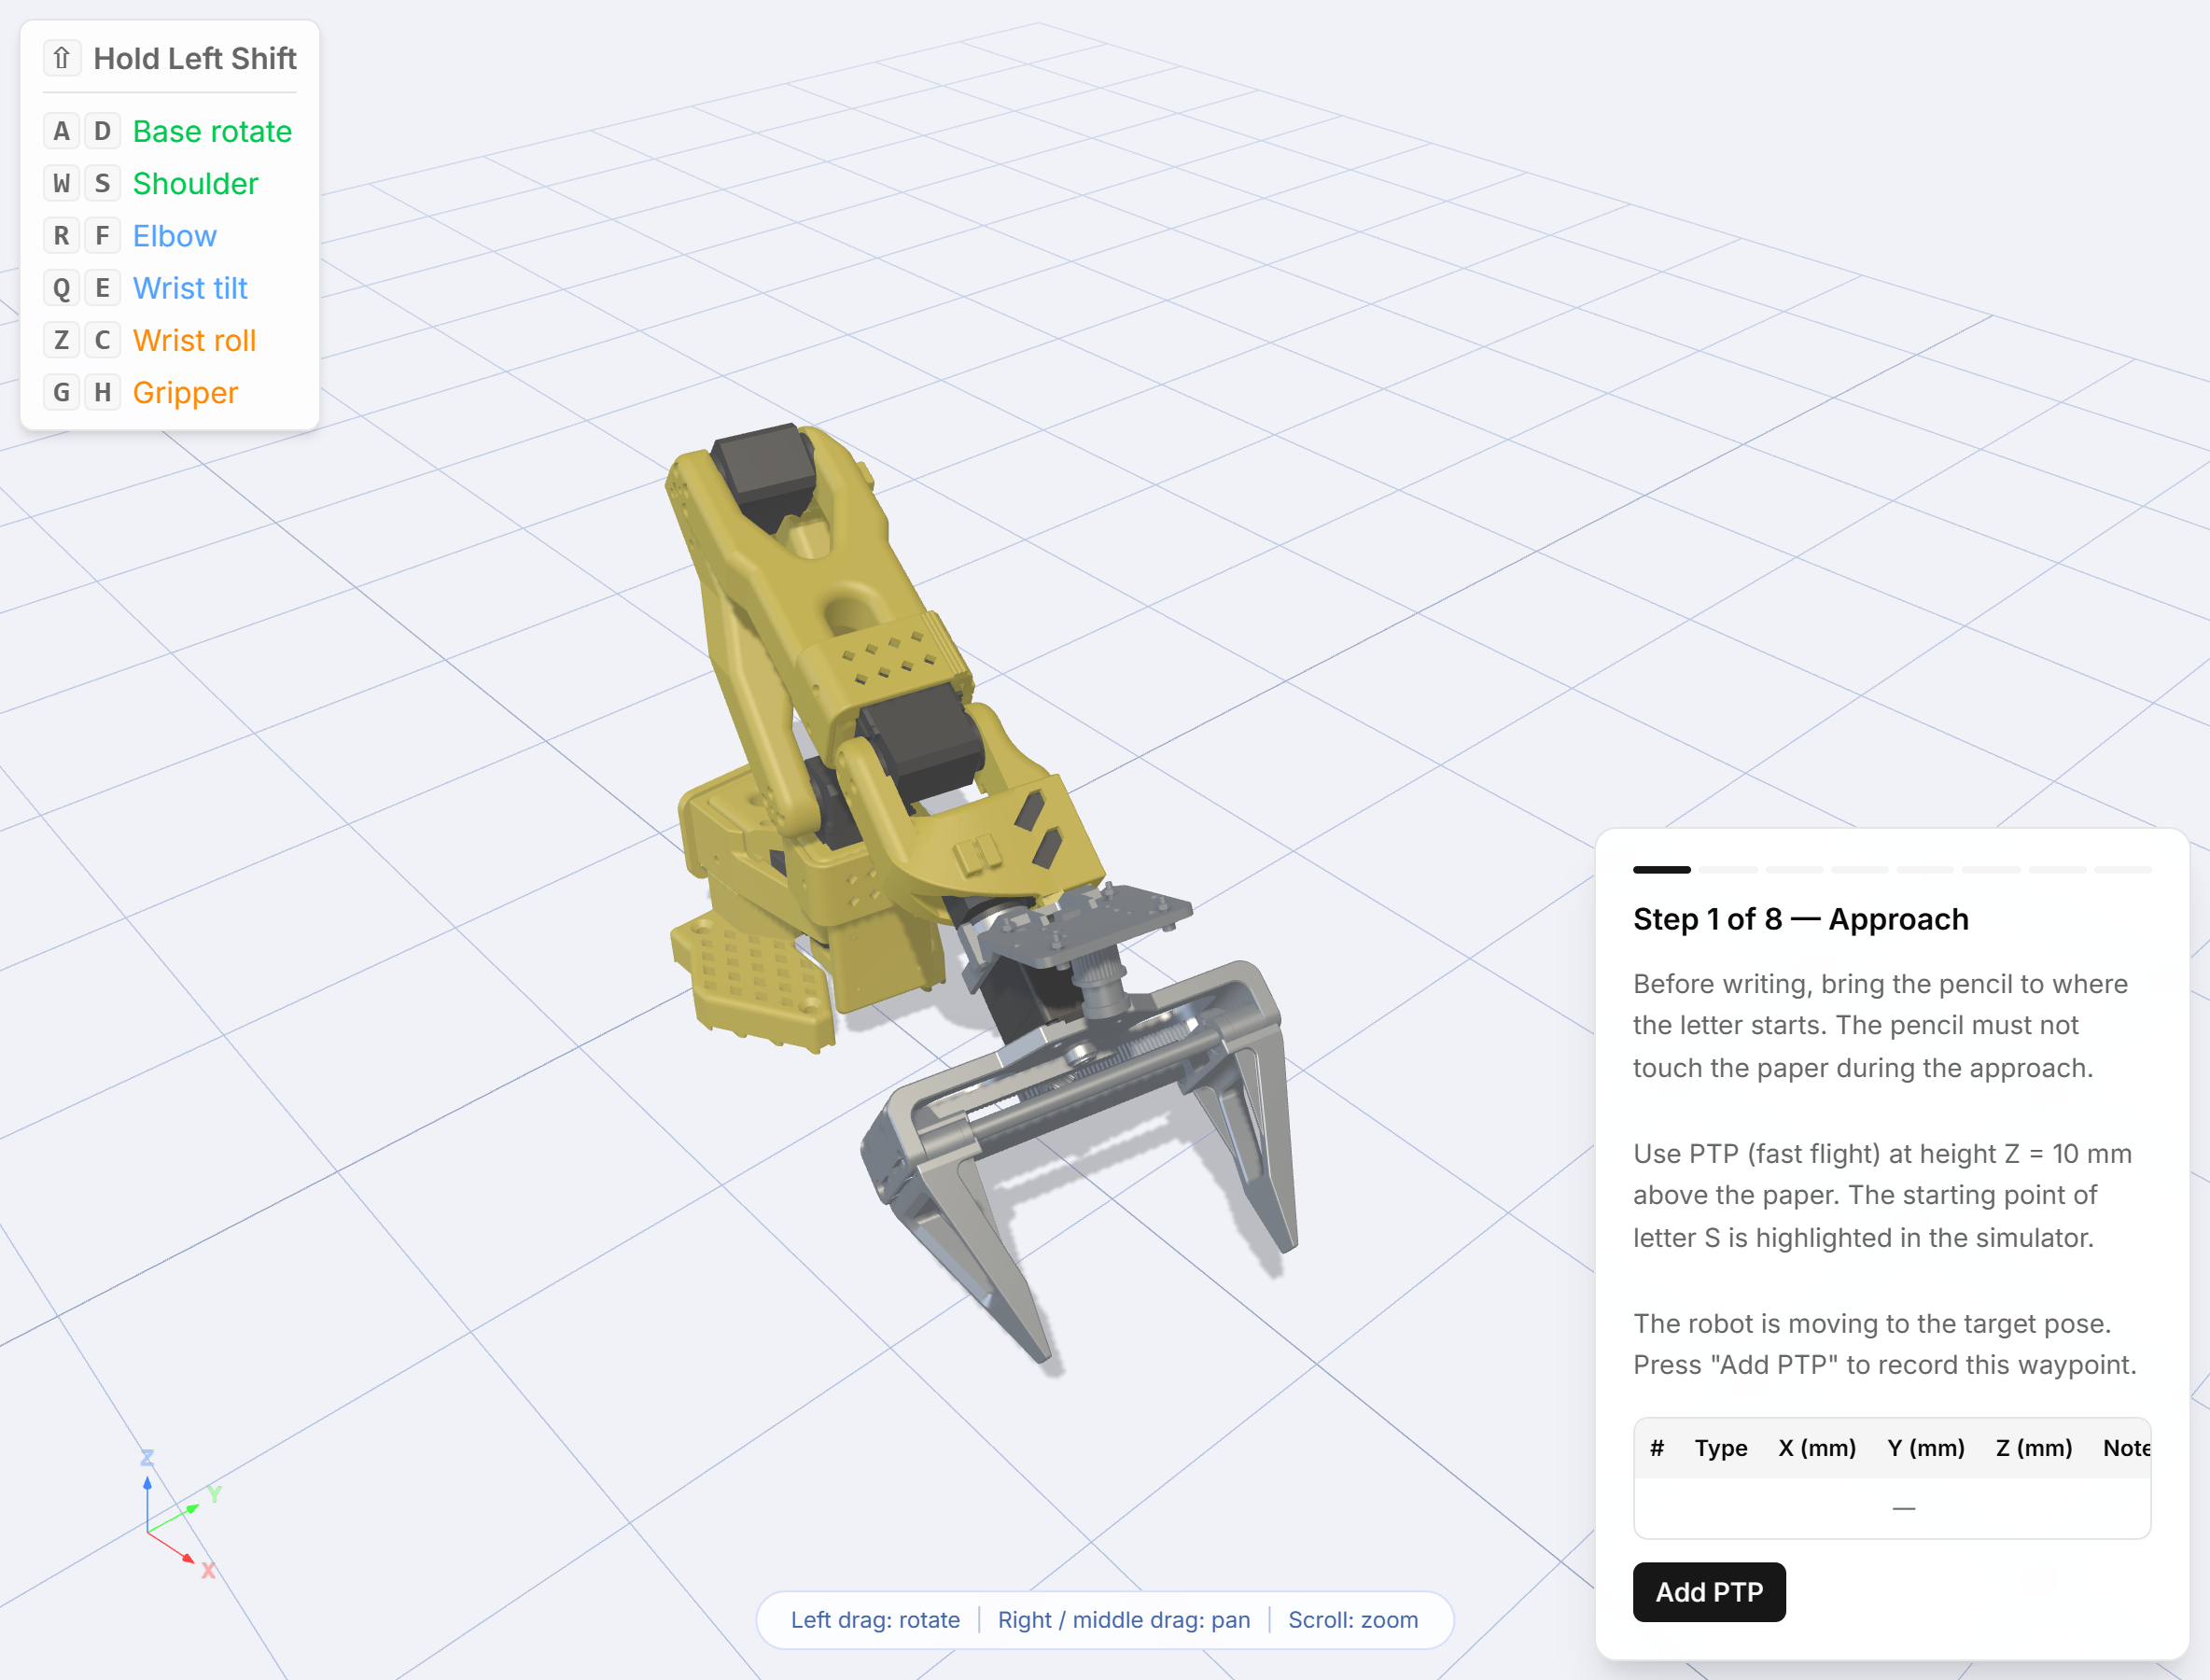
Clamp a pencil in the gripper and make the arm write.
- Tool calibration: touch a cone's tip from four different orientations so the software learns where the pencil point is relative to the wrist. Verified automatically over three attempts.
- Base calibration: touch three corners of an A4 sheet — origin, X, Y — so the paper becomes a coordinate system. Also verified.
- Motion types: point-to-point, linear and circular moves, and why the difference matters when a pencil is on the paper.
- The signature: program the letters S, O, A, R, M with Add PTP, Add LIN, Add CIRC. The S is fully guided, coordinate by coordinate; the rest are yours, with suggested schemes.
- Check the trajectory, run it in the simulator, then run it on the real arm with a real pencil.
You need a pencil and a sheet of A4.
7 — Computer-vision object recognition
Arm: not needed. Nine steps.
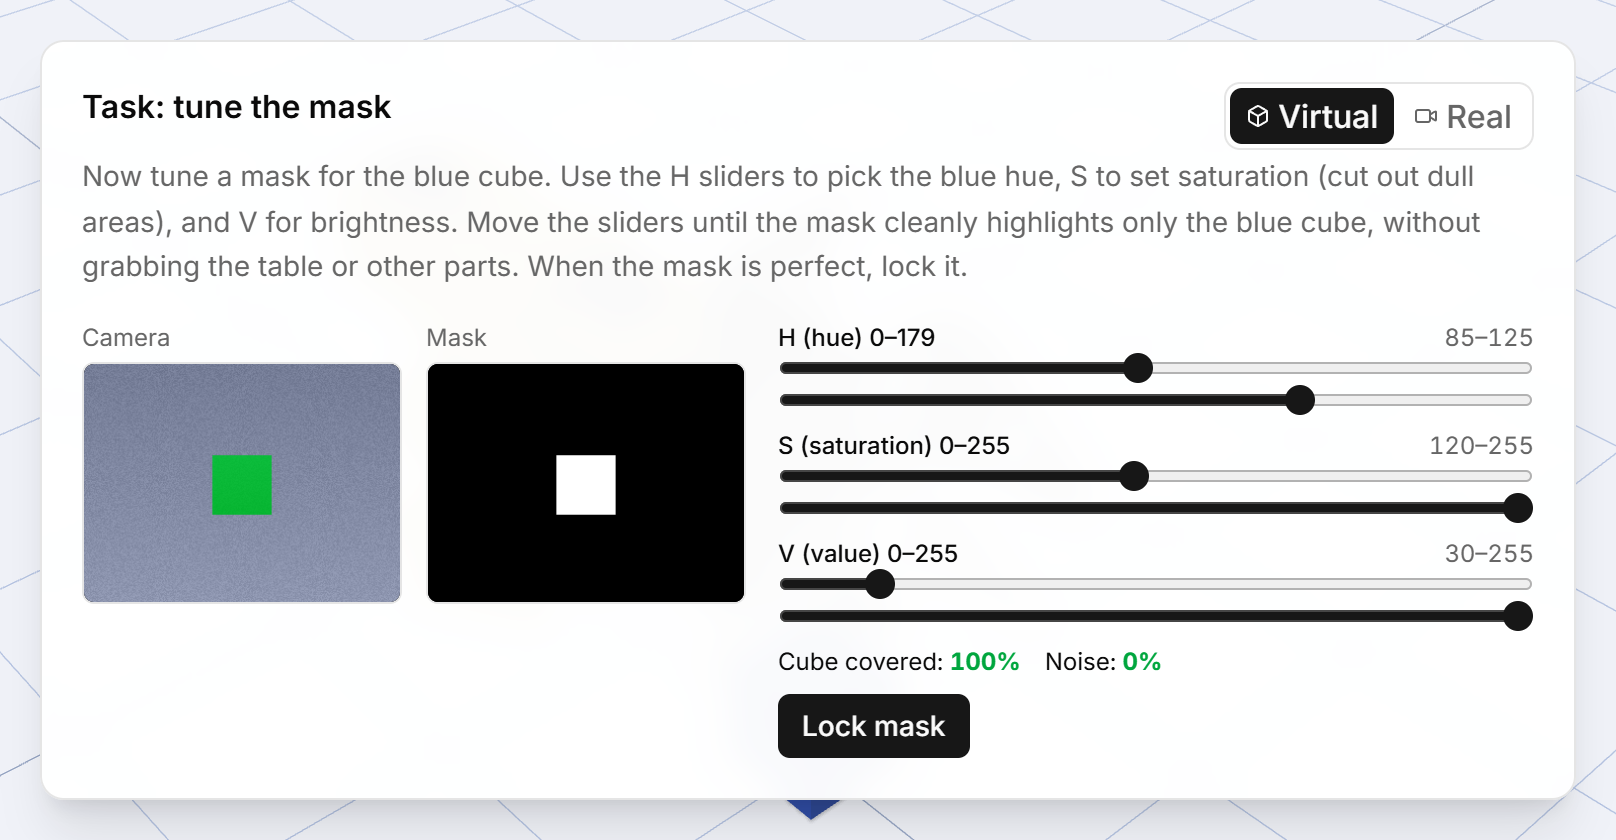
Real computer vision, running in your browser: the module loads OpenCV and builds an honest pipeline — HSV thresholding, then morphology to clean the mask, then moments to find the centre of the object.
You can feed it the virtual scene built into the lesson or your own webcam; the choice sticks between sessions. Tasks: tune the HSV sliders until only the blue cube survives, and clean a noisy mask by applying erosion and dilation in the right order.
8 — Object tracking and PID
Arm: required. Ten steps.
Turning pixels into millimetres, then into joint angles. Camera-to-base calibration, reaching a seen object, and then the control theory: what P, I and D each do, tuned live against a moving cube until it stays centred. Ends with telling two similar blue objects apart by shape and following only the cylinder.
9 — Neural-network recognition
Arm: required. Thirteen steps.
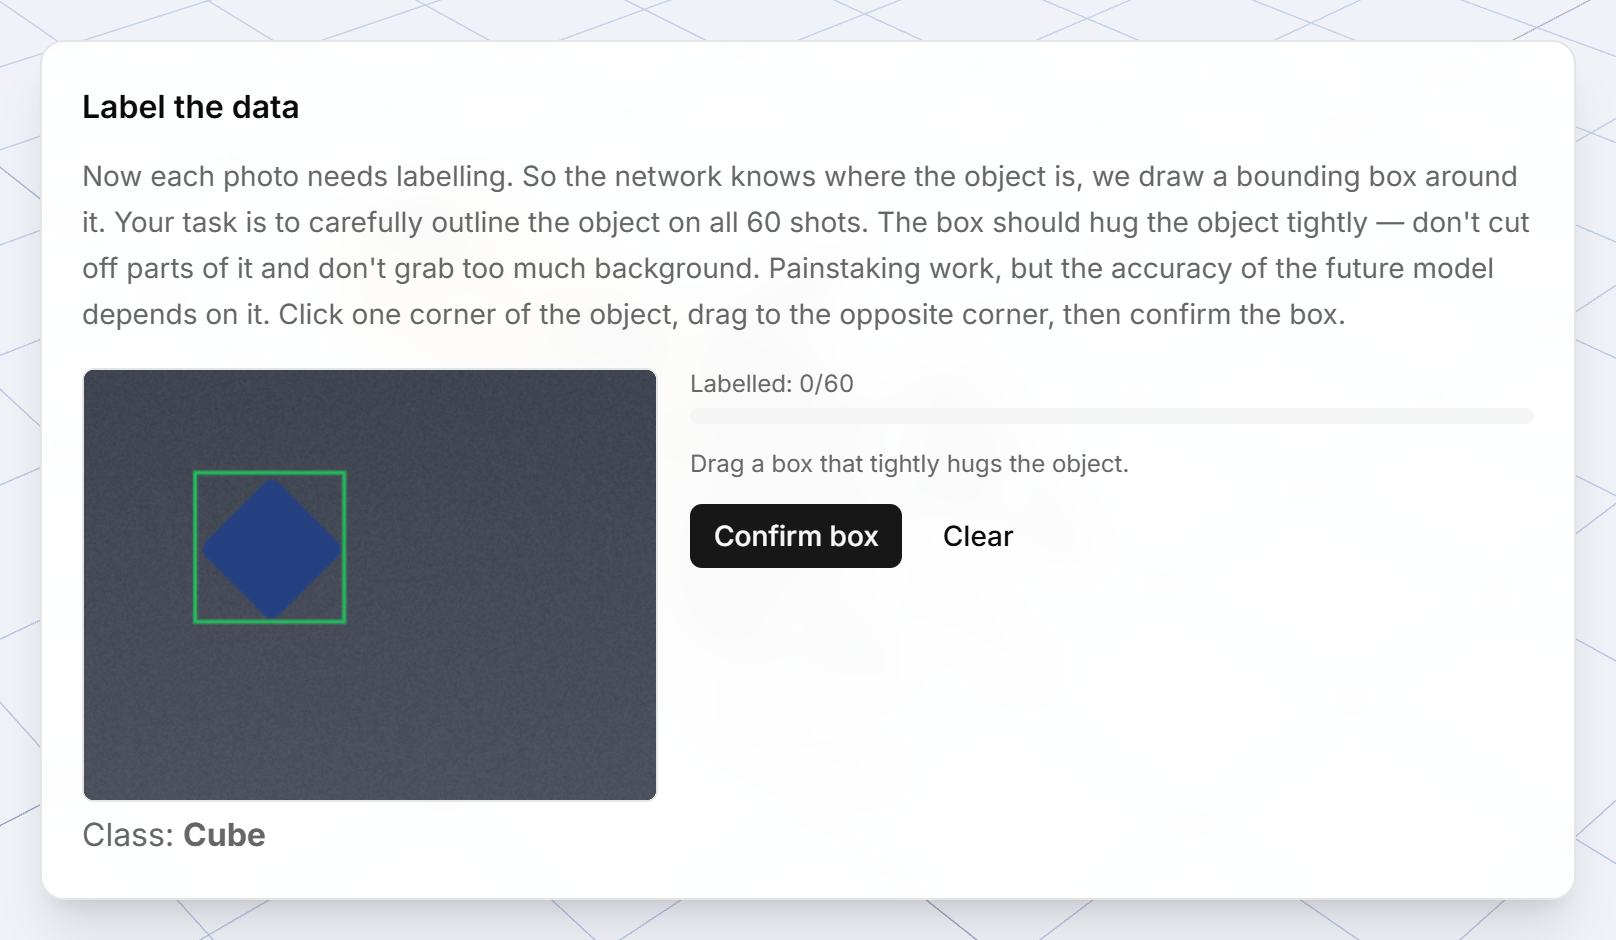
The full data pipeline, done properly: collect sixty images — twenty each of cube, cylinder and nut — then draw a bounding box on every one. The lesson checks your labels, and it rejects a virtual dataset shot from one pose under one light, because that is the lesson.
Then image formatting, the train/validation split, what transfer learning is, and reading a training curve: you watch loss and accuracy and have to stop training at the right epoch, before it overfits. Finishes with the arm sorting parts by class.
What is real here and what is taught in the simulator
Modules 7 and 8 run genuine OpenCV. Module 9's training curves are an idealised model of training, and Module 10 detects markers with a simplified teaching codec rather than a production detector. The concepts, the workflow and the decisions you make are the real thing; the numbers behind the curtain are staged so they behave every time. Production ArUco detection and OpenCV are available as tools, outside the lesson.
10 — ArUco marker recognition
Arm: required. Five steps.
What a fiducial marker is and why robots like them. You build a marker yourself by filling in cells and watch the ID decode, rotate a marker-covered cube and scan it, align the gripper's approach direction with a marker's normal, aim at a chosen marker by ID through inverse kinematics, and sort a cube into zones labelled by marker.
11 — Final project
In development. The card is visible on the dashboard, dimmed, and its button reads Under development. The eleven modules before it are complete.
