
Calibration
A servo counts encoder steps from wherever it happened to be when it powered up. Calibration is what turns those counts into "the elbow is at 30°". Until it is done, the arm in the 3D view and the arm on your desk disagree, and every later module inherits the error.
Three different calibrations exist. They fix different things.
1. Zero positions — Module 3
This is the one everybody needs, and it is part of the course.
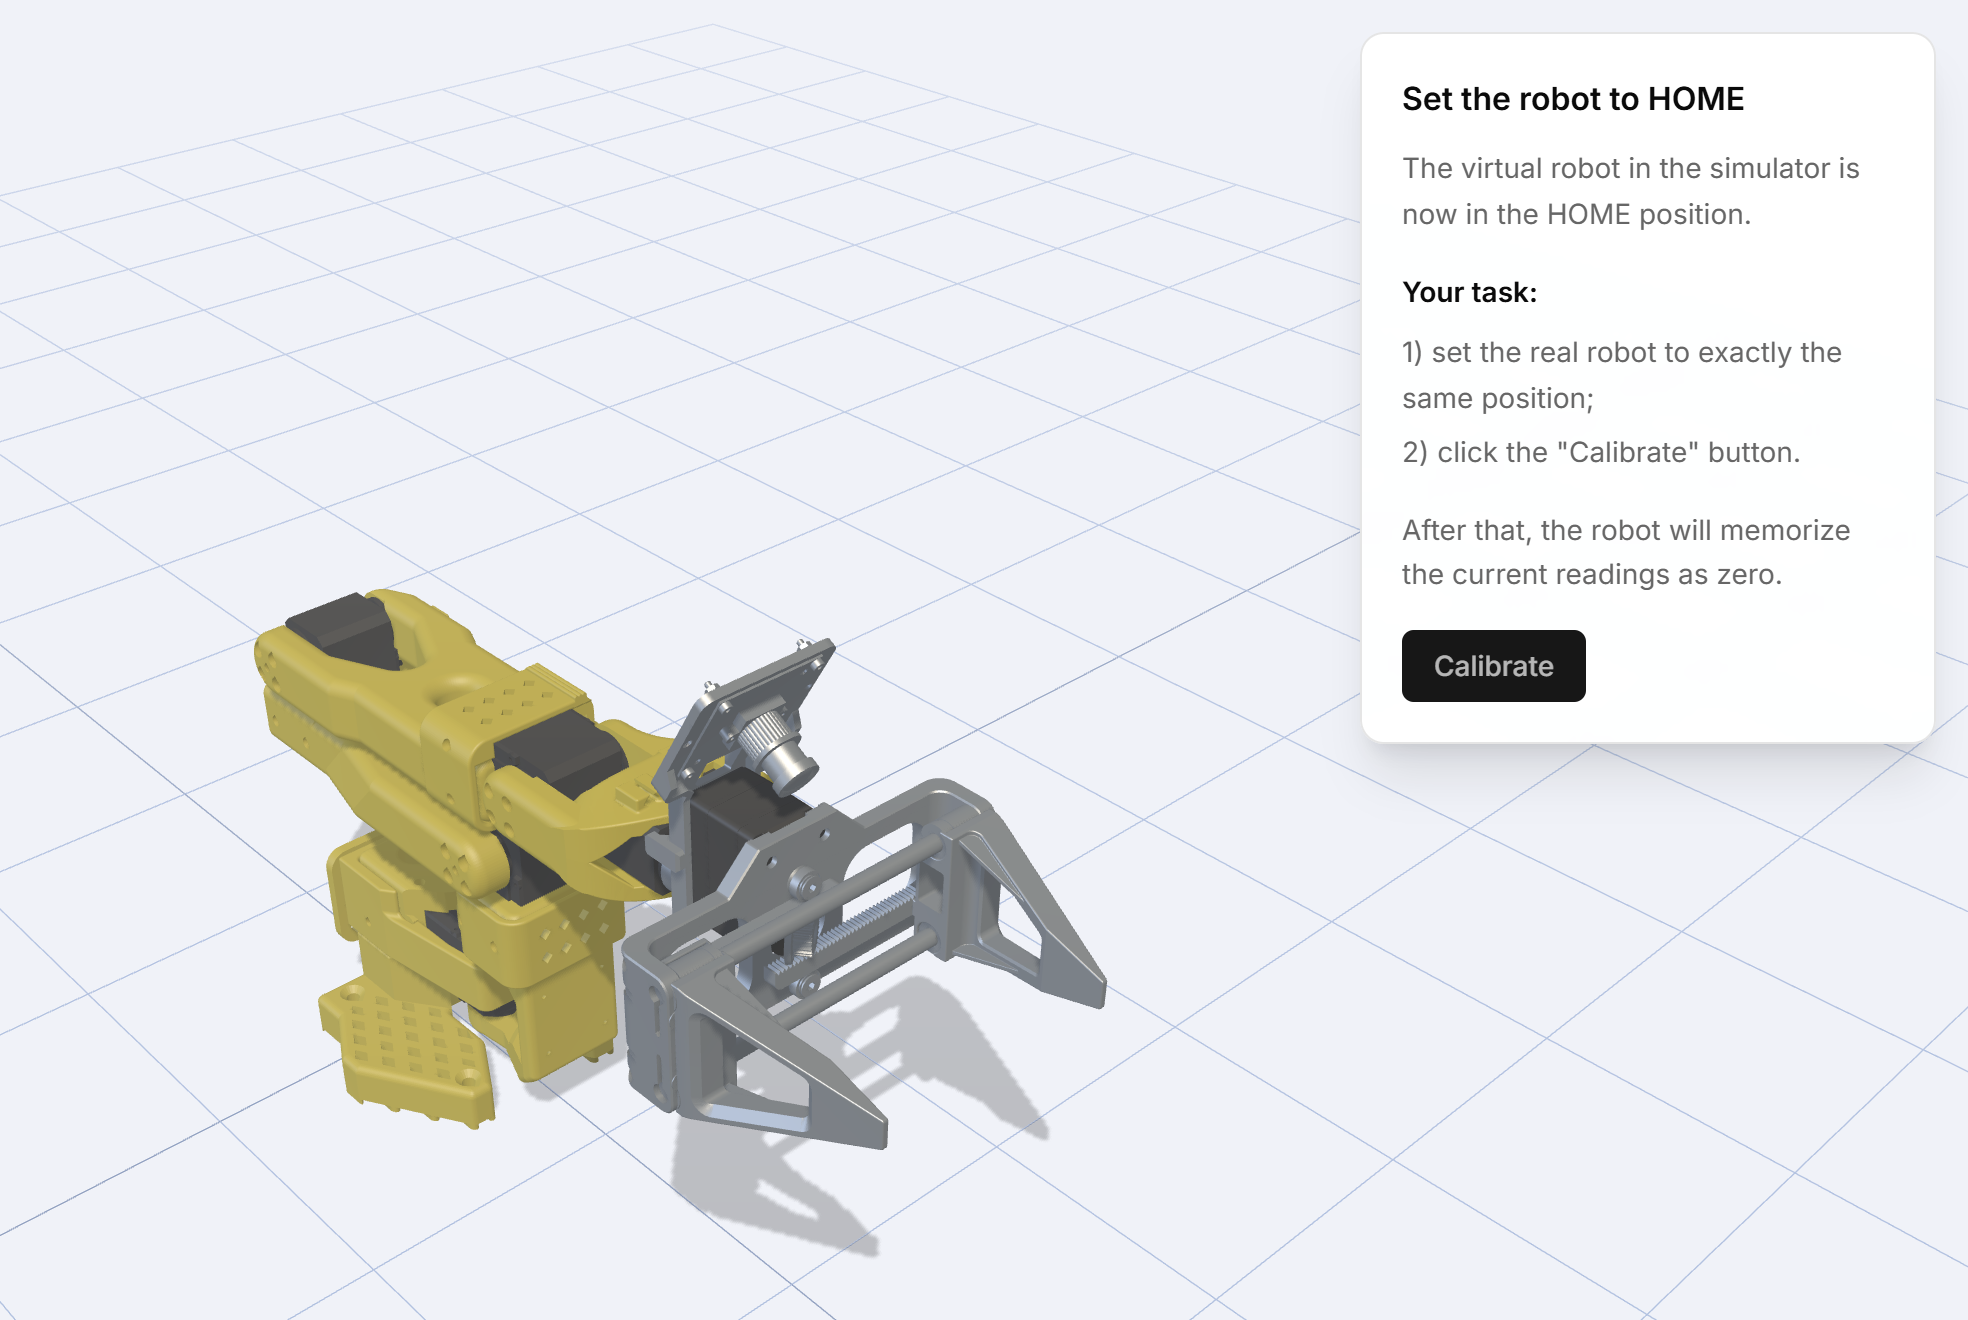
- The simulator shows the HOME pose. Move the real arm by hand until it matches. The arm is limp after connecting, so this is just posing it.
- Press Calibrate. The app disables torque and steps through the joints — Preparing…, Calibrating elbow…, Calibrating wrist…, Saving…
- The offsets are written into each servo's own memory, and the calibration is saved against the robot on your account.
The module then makes you prove it: drive the wrist roll to 90° and check that it really is 90°.
Getting the HOME pose right is the whole job
Ten degrees of sloppiness here becomes ten degrees of error in every module that follows. Sight along the links, use the edge of the desk as a reference, and take the extra minute.
The checks that come after
Module 3 does not stop at the calibration. It has you:
- move joint 6 by hand and watch the twin in the 3D view follow, then do the same with every joint — the fastest way to catch a joint wired to the wrong ID;
- compare joint 1 at 36 counts per revolution against joint 2 at 4096, so the word resolution stops being abstract;
- measure repeatability over three attempts and accuracy over three more. The lesson grades the result and tells you what the pattern means — an error that grows with the angle is a different fault from an error that jumps around at random.
2. Range of motion — the Calibrate robot tool
Zero positions tell the arm where it is. Range of motion tells it how far it may go. The Calibrate robot tool records the real end stops of each joint, so the software limits match the machine in front of you rather than the nominal design.
Open it from Account → My robots → Calibrate, or from Tools. Run it when you build an arm, and again if you change a servo or a printed link.
3. The camera — the Camera calibration tool
Only for arms with the wrist camera, and only needed before the modules that convert what the camera sees into where the gripper should go.
The tool uses a printed checkerboard: show it to the camera from several angles and it solves for the lens. The result is stored with the robot and can be inspected under Account → My robots → Show camera calibration data: focal lengths, principal point, distortion coefficients, image size and the RMS reprojection error.
A reprojection error under about one pixel is a good calibration. Much more than that and it is worth reshooting with the board filling more of the frame.
When to do it again
| Situation | Redo |
|---|---|
| You reassembled a joint or replaced a servo | Zero positions, then range of motion |
| The arm was dropped or forced past a stop | All of them |
| The angles look right but the arm misses by a constant amount | Zero positions |
| The error grows as the arm reaches further out | Range of motion, then check the links are seated |
| The camera was moved or refocused | Camera calibration |
| You moved to a different computer | Nothing — the calibration lives on your account, not the computer |
Moving a calibration between accounts
Account → My robots → Export robot writes a JSON file with the calibration in it; Import robot reads it back. In a classroom with one arm and several learners, this is how everybody gets the same calibrated machine without recalibrating between turns. See Sharing one arm.
