
Your first moves
Before anything moves
The arm is small and runs on low voltage, which makes it easy to forget that it is a machine with motors strong enough to trap a finger. Module 0 makes you read five rules and answer a question on each. They are worth repeating here.
- Keep a clear work zone. Nothing inside the arm's reach that you would mind it hitting — including your hands, a phone, a glass of water.
- Know how to stop it. The emergency stop is on screen, described below.
- Cut the power for anything physical. Changing the gripper, reseating a horn, freeing a jam: power off first, not "carefully while it is live".
- Do not run it unattended. Especially a sequence you just wrote.
- Mind the pinch points. The gripper and every joint close on themselves.
There is no physical emergency-stop button
The kit has no hardware stop. The on-screen button is the software stop, and the real, final stop is pulling the power. Decide before the first session which plug you would grab, and keep it reachable.
Any tool that is about to move the real arm asks first:
Safety check — clear the area! The arm will move for real. Keep your face, hands, and other objects well away from it while the controls are active.
The emergency stop
A red STOP button sits at the bottom-left of the screen whenever an arm is connected and something could move it.
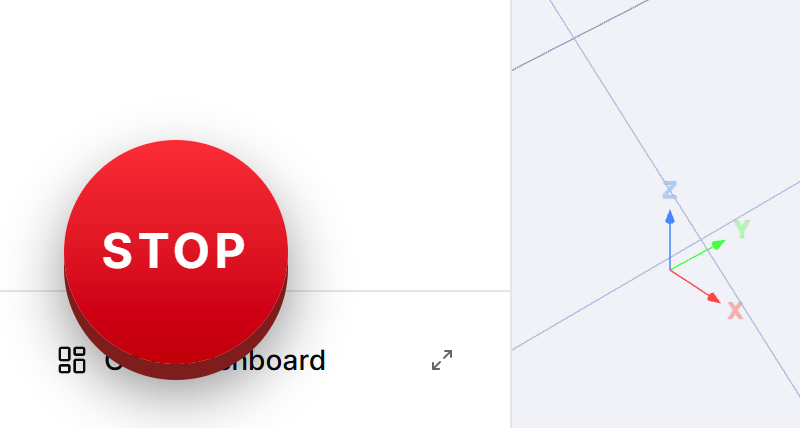
Three ways to fire it:
- click the button;
- press Space;
- press Esc twice.
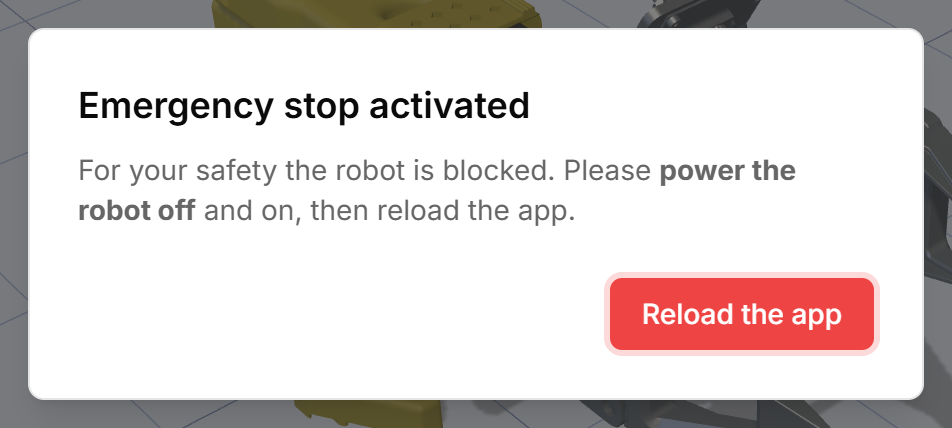
It clamps the speed to its lowest setting and re-commands every motor to hold exactly where it is. Then a dialog blocks the screen:
Emergency stop activated. For your safety the robot is blocked. Please power the robot off and on, then reload the app.
That is not a suggestion. Until the arm is power-cycled it stays speed-limited, and the connection dialog will refuse to continue with Motor speed is still limited from a previous emergency stop.
Driving a joint
The arm is controlled from the keyboard, with a deliberate two-hand grip:
- Hold Shift+Left — this is the enable. Nothing moves while it is up.
- With it held, press the key for a joint to move it one way; the paired key moves it back.
The on-screen legend lists the pairs for the current lesson. The reason for the modifier is the obvious one: a key pressed by accident does not move a robot.
Your first real task, in Module 4, is to rotate joint 5 to exactly 45°. It sounds trivial and it is the moment the whole thing stops being a simulation.
What the 3D view is telling you
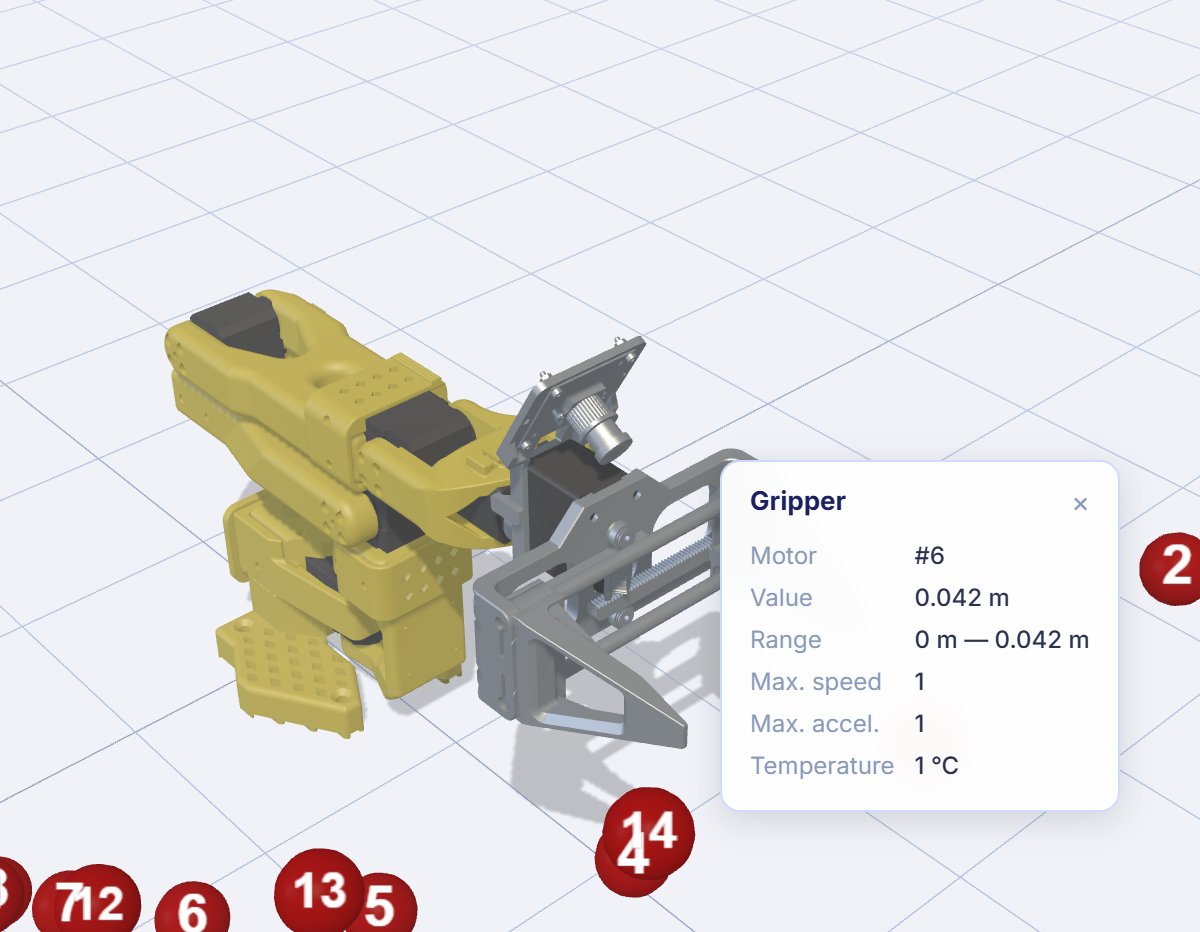
The viewport is the real arm's twin, fed by the motors' own encoders.
- Left-drag rotates the camera, right-drag or middle-drag pans, scroll zooms.
- Click a motor in the 3D view for its live readout: motor, value, range, maximum speed, maximum acceleration and temperature. If it says Motor not connected, that joint is not answering — go back to Connect your arm.
- Ghost poses show where the arm is being asked to go, next to where it is.
If the twin does not follow when you move a joint by hand, stop and fix that before going further. It means the IDs, the wiring or the calibration are wrong, and every later module is built on top of this one.
