
Connect your arm
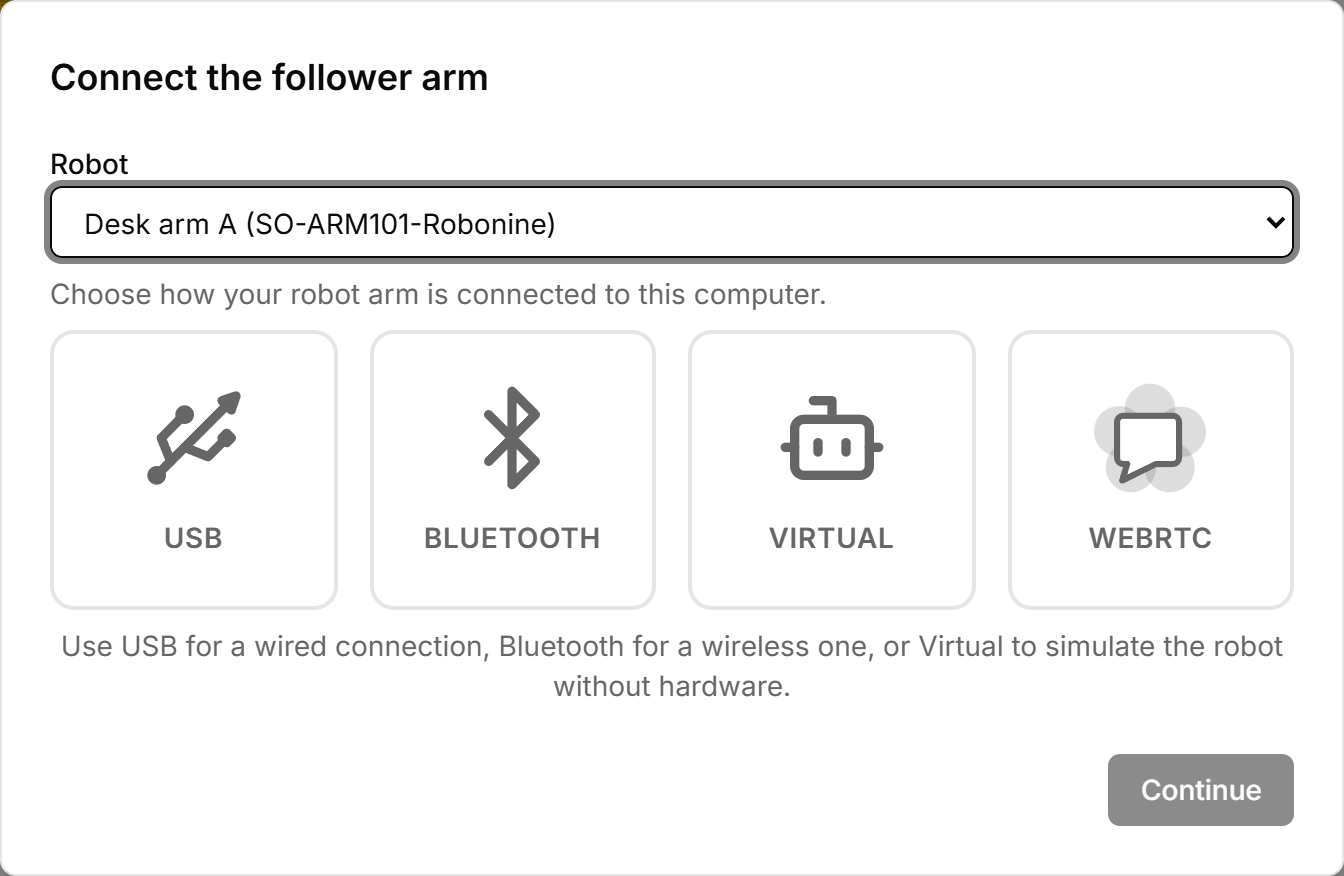
Everything starts from one dialog: the Not connected button in the sidebar, or the Connect button a lesson or tool puts in front of you.
The four ways in
| Method | What it is | Needs |
|---|---|---|
| USB | A cable to the arm's controller board. The steadiest option, and the one to use in a lesson. | Chromium browser, a free USB port |
| Bluetooth | The same protocol over the air. | Chromium browser, a Bluetooth adapter that is switched on, an arm with the wireless adapter |
| Virtual | A simulated arm with the same joints and limits. No hardware at all. | Nothing |
| WebRTC | Somebody else's real arm, driven over the internet. | An invitation code from its owner, and a signed-in account |
Connecting over USB
- Plug the controller board into the computer and switch on the arm's power supply.
- Open the connection dialog. Pick the arm under My robots if you have saved one, or a model under Models.
- Choose the USB tile and press Continue.
- Chrome shows its own list of serial ports. Pick the arm's port and press Connect. This is a browser permission prompt, not part of the Lab — the first time, it is the step people miss.
- The Lab opens the port and starts probing: Opening port…, then Reading motor 1 of 6… up to six.
- It then scans the rest of the bus for anything else attached — sensors, or a motor whose ID was never changed. The line reads Scanning for other devices… ID=… (it's safe to skip) and there is a Skip button. Skipping is fine once you know your bus.
- You get a table of what it found, and a Continue button.
Which port is the arm?
The dialog only offers ports whose USB chip matches the controller board — a QinHeng CH343 or an Espressif ESP32-C3. If the list is empty, the board is not powered, the cable is charge-only, or the driver has not loaded.
Reading the results table
| Status | Meaning | What to do |
|---|---|---|
| OK | The motor answered and reported its model. | Nothing. |
| Sensor | A device on the bus that is not a motor — the gripper force sensor, for example. | Nothing. |
| Not configured | Something answered, but on the wrong ID, or two devices answered at once. | Reassign motor IDs — see Troubleshooting. |
| Not connected | Nothing answered on that ID. | Check the daisy-chain cable to that joint. |
Continue stays disabled while no motor at all was found, while an ID is wrong, and while the arm is still in the speed-limited state that follows an emergency stop.
After a successful connection the app releases the motors' torque, so the arm goes limp and you can pose it by hand. That is expected.
Connecting over Bluetooth
Same dialog, the Bluetooth tile. Chrome shows its device chooser; pick the arm. The rest — probing, the extended scan, the results table — is identical to USB.
If the tile is amber and says Bluetooth is off, the browser can see an adapter but the adapter is disabled. Switch it on and the tile turns live without reloading.
Bluetooth is convenient and slightly slower than the cable. For the modules that record trajectories, prefer USB.
The virtual arm
Choose Virtual and there is no hardware step at all: the dialog closes and a simulated arm appears, with the joint limits and the gripper range of the real one. A small floating panel shows each joint's position.
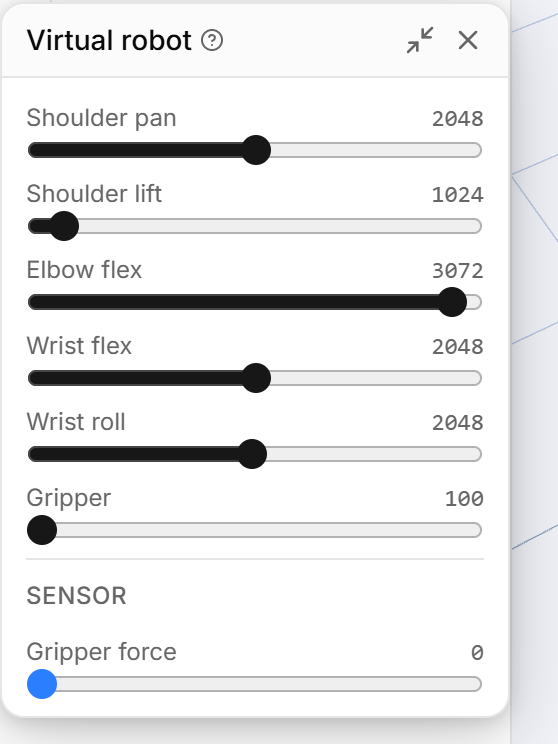
The panel is a readout, not a control:
This is a virtual representation of your robot, not a control panel. The sliders show each joint's current position. Joints with torque enabled by the program cannot be moved manually — just like on a real robot.
What the virtual arm is good for: the whole of Modules 0, 1 and 7, the theory and the simulator work in 2, 4, 5, 8, 9 and 10, and any tool that does not need a physical bus. What it cannot do is teach you what a badly seated servo horn feels like, and it cannot be calibrated, because there is nothing to calibrate.
Driving somebody else's arm
One arm can be handed to one person at a time over the internet.
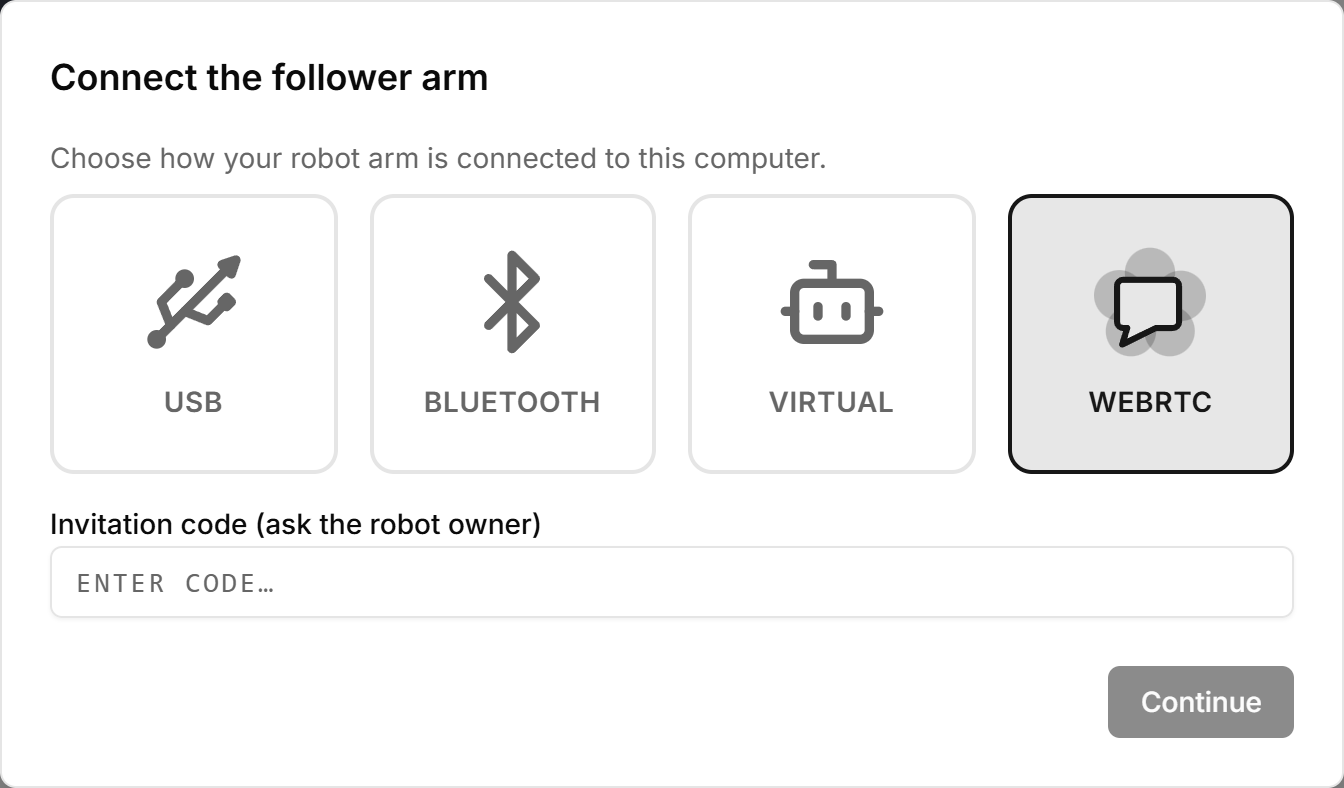
The owner opens Account → My robots, presses the gamepad icon on the arm's row, and picks Allow remote control. Their screen switches to a lock screen showing the invitation code, the operator's email once someone connects, and the current latency. The owner can end the session at any moment with Stop session.
The operator opens the connection dialog, chooses WebRTC, types the six-character code and connects. You have to be signed in: the dialog says Sign in to use remote control otherwise.
What a remote session is not
- One at a time. The room holds exactly one owner and one operator. A second operator is refused.
- The code does not rotate. It is derived from the owner's account, so it is the same code every session, and anybody who has it can ask to connect while a session is open. Only start a session when you are expecting someone.
- Some tools refuse it — anything that talks to the bus directly answers Remote connection is not available — this tool requires a direct USB or Bluetooth connection.
- It needs a permissive network. The connection is peer-to-peer with a public STUN server and no relay, so a strict school or corporate firewall can stop it from forming at all.
What comes next
With the arm connected and answering on all six motors, go to Calibration — until that is done, the angles in the 3D view and the angles on your desk are two different things.
