Shared presentation
Show a robot model, grant participant controls and edit URDF together.
Start presenting
- Open Presentation. A session starts when the teacher screen opens.
- Use Copy link or Show QR code and share it with participants.
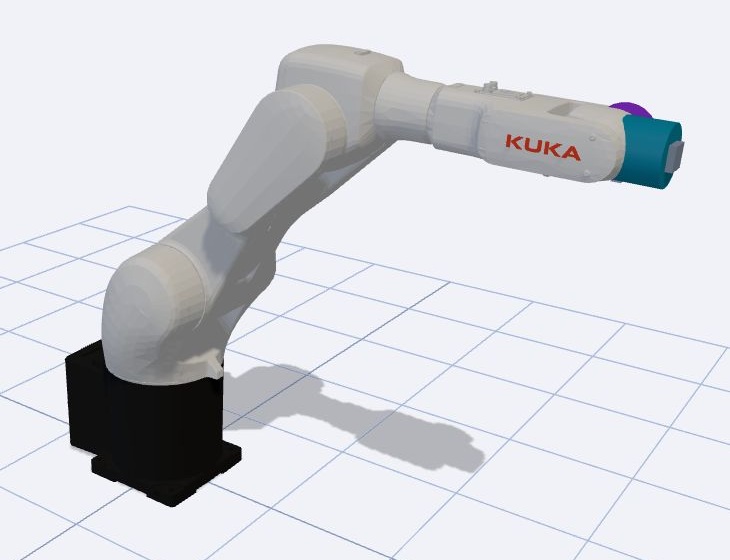
- Choose a model and check that a participant appears in Class.
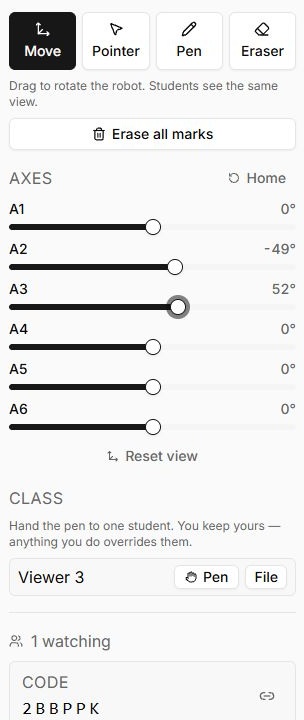
- The pen control lets a participant move the camera, rotate joints and draw. Use Take back control to end their demonstration.
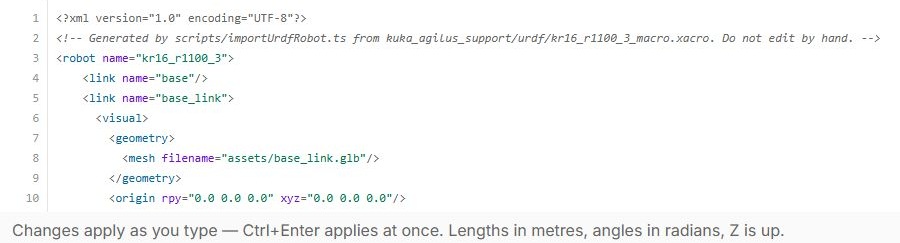
- Select Edit to work with URDF. This opens an editable copy, after which a separate file permission becomes available beside the participant.
- At the end, select End presentation and confirm. Participants will see that the session ended.
Prepare your material
Check the model, linked URDF resources and text readability on the classroom display in advance. Save the original description before experimenting. If a participant misses changes, check the session and connection, then their permissions.
Controls
| Button or field | Action and result |
|---|---|
| Robot | Selects the demonstrated model. Students see it in the shared session; this is the presentation model, not a physical connection selection. |
| Move | Dragging rotates the scene view. Participants in follow mode see the teacher’s camera changes. |
| Pointer | Shows participants the pointer over the scene without drawing a persistent line. |
| Pen; Colour; Width | Draws over the scene. Choose colour and line thickness; marks are anchored to the screen. |
| Eraser / Erase all marks | Eraser removes individual marks by clicking or dragging. Erase all marks removes all drawings. |
| Axes; Home | Sliders change the model pose. Home resets it; this is separate from resetting the viewpoint. |
| Reset view | Restores the initial camera viewpoint. It does not replace model selection or URDF editing. |
| Hide panel / Panel | Hides or restores controls to make room for the scene. |
| Copy link / Show QR code | Copies the participant link or shows its QR code. The session code can also be entered manually on the join page. |
| Class → Pen | Gives the selected participant control of the camera, axes and drawing. The teacher can still control the demonstration. |
| Edit / Custom URDF | Opens an editable model description. Changes apply as you type; Ctrl+Enter applies immediately. Lengths use metres and angles use radians. |
| Class → File | Also allows the participant to edit URDF. Available for a custom editable model; grants broader control than Pen. |
| Take back control | Ends the participant’s control. They remain a viewer in the current session. |
| Editor → Show joints | Shows or hides joint markers to help match the description to the model. |
| Editor → Open | Replaces the text with a .urdf file’s description. Download the current version first if you need it. |
| Editor → Upload model | Adds GLB, glTF, STL, DAE or OBJ files to the session and inserts a mesh element with its path at the cursor. Put the cursor inside the intended geometry block first; check the URDF structure and scene result. Supporting buffers and textures upload without their own mesh elements. |
| Models → insert path / remove | Inserts a resource path at the cursor or removes the resource from the session. Geometry will not load if URDF still references a removed file. |
| Editor → Download | Saves the current description locally. Use before replacing the file or restoring the initial model. |
| Starter model / Close | Restores the initial description or closes the editor. Save any changes you need before resetting. |
| Follow cursor / Read freely | Switches between following another participant’s line and independent scrolling. |
| End presentation | After confirmation, ends the session for everyone. Cancel keeps it running; students need a new link for the next presentation. |
