
Setting up the room
The week before
Do this on the machines the class will actually use, signed in as a normal user account, on the school network.
- Open lab.robonine.com in Chrome on a lab machine. Confirm it loads and the 3D view renders.
- Connect an arm over USB on that machine. This is the step that exposes blocked device permissions and missing drivers.
- Build the arms, or at least one, and calibrate it — Module 3. Do not leave assembly and calibration to the first session unless assembly is the session.
- Run Calibrate robot so the software limits match your machine.
- Export the calibrated robot to a JSON file and keep it somewhere the class can reach. See below.
- If you plan to share arms remotely, test a session on the school network between two machines.
- Work through Modules 0 to 4 yourself, end to end. Two hours, and it will change how you plan the first three sessions.
- Decide where the power switches are and tell the class on day one.
Accounts on the day
Each learner signs in with an email link or Google. Expect this to eat ten minutes of the first session: links arrive in personal inboxes, and some learners will open the link on a phone rather than the machine in front of them.
Tell them plainly: open the link on the computer you will work on, in Chrome.
Sharing one arm
Two mechanisms exist, and they solve different problems.
Physical rotation, with a shared calibration
The simplest arrangement, and the one to default to.
- Calibrate the arm once, on any account.
- Account → My robots → Export robot, which downloads a JSON file holding the calibration.
- Give every learner that file. Each imports it with Import robot.
- Learners take turns at the physical arm. Everyone's Lab already knows the arm's geometry, so nobody spends their turn recalibrating.
While waiting, learners work on the same module with the virtual arm and switch to the real one only for the hands-on step.
The calibration belongs to the arm, not the machine
A learner who imports the file and then works on a different computer still has the calibration — it lives on their account.
Remote sessions, one driver at a time
The owner of an arm can hand control to one other person over the internet: Account → My robots → the gamepad icon → Allow remote control. Their screen becomes a lock screen with a six-character invitation code, the operator's email once connected, and the latency. Stop session ends it.
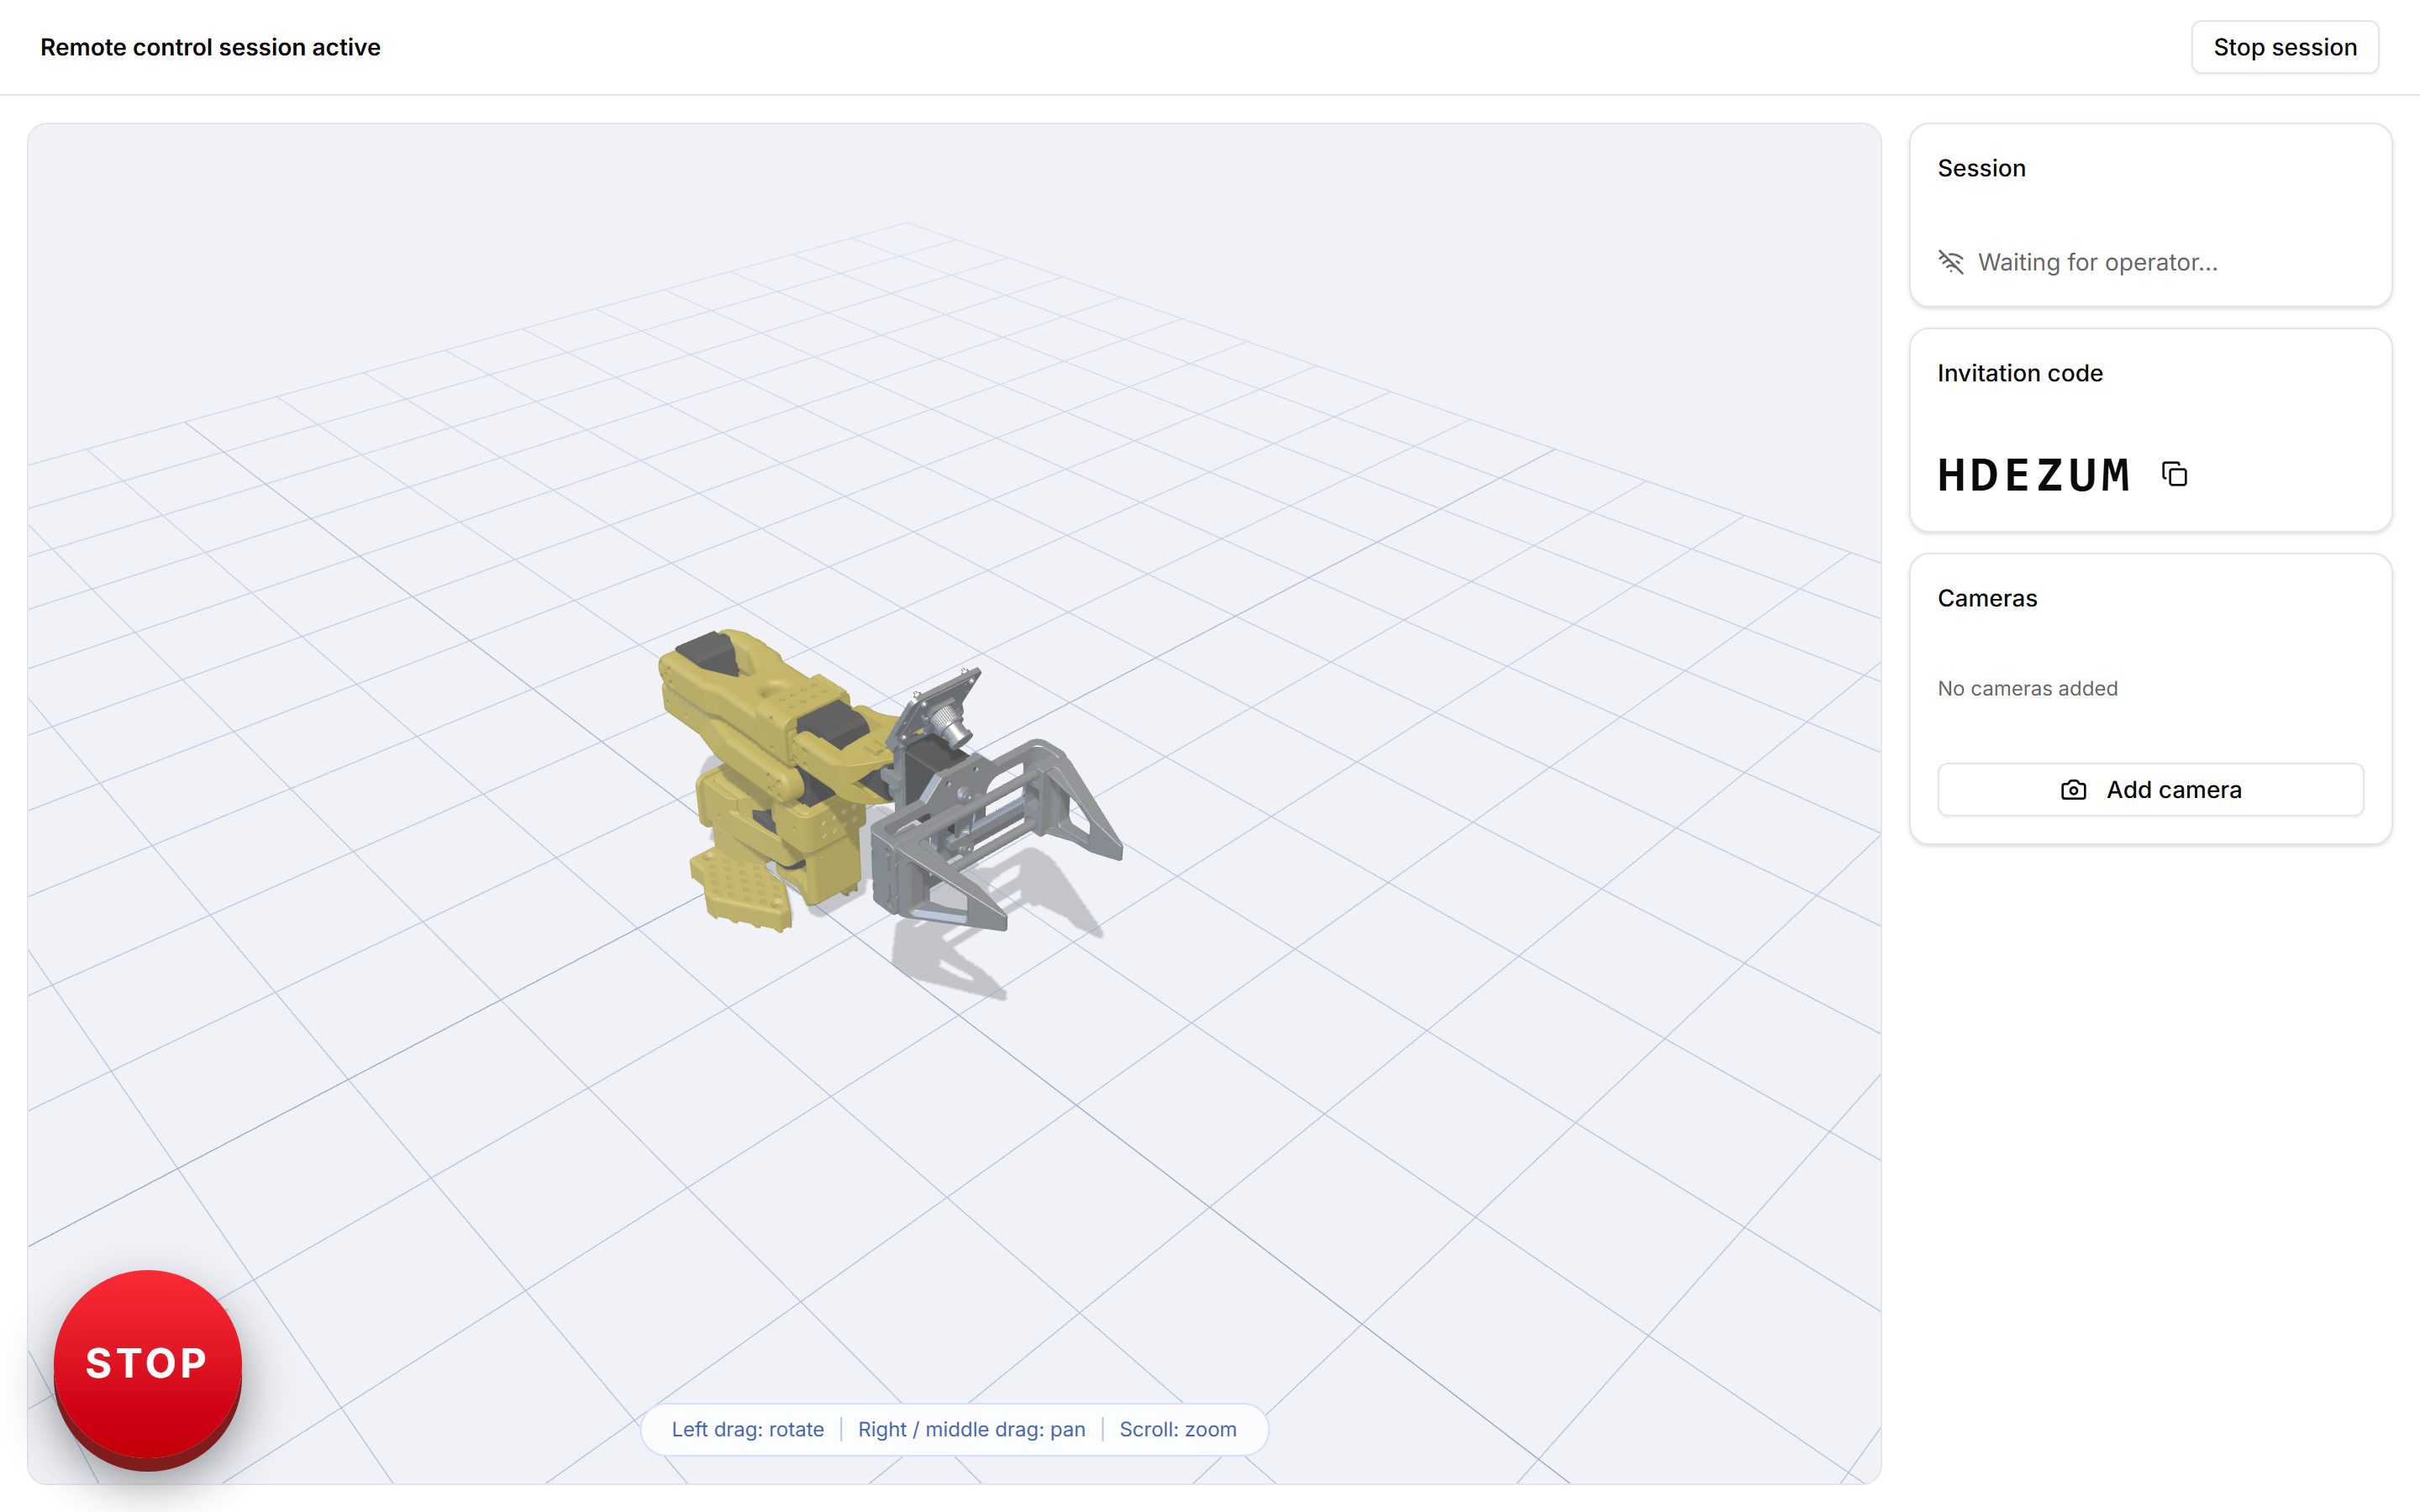
Useful for a demonstration arm at the front, for a learner working from home, or for a single arm driven in turn from several desks.
Know the limits before you build a lesson on it:
- One operator at a time. A second is refused.
- The code does not change. It is derived from the owner's account, so it is the same code every time, and anyone who has it can connect while a session is open. Start sessions only when you are expecting someone, and stop them afterwards.
- Some tools refuse remote control, because they talk to the bus directly.
- It needs a permissive network — see What a class needs.
The virtual arm
For a group with no hardware yet, or for the half of the class not at an arm: choose Virtual in the connection dialog and everything that does not need a physical bus works. Modules 0, 1 and 7 are fully virtual; the theory and simulator parts of 2, 4, 5, 8, 9 and 10 are too.
Assembly, calibration and the writing module need the real machine.
A layout that works
For a pair at one arm:
- The driver has the keyboard and the mouse.
- The spotter reads the step aloud, watches the work zone and has a hand near the power.
- Swap at every step boundary, not at the end of the module — otherwise one of them does the whole thing.
The step rail makes the swap natural: it is obvious where you are.
