ArUco detector
Detect markers and make their results available to other tools.
Prepare and use
- Open ArUco detector in the catalog and install required dependencies, including OpenCV.
- Connect a camera and choose it in the tool using the detector.
- Set the physical marker size using the units expected by the field.
- Show the complete marker without glare or obstruction and inspect detected IDs.
- For positions relative to the base, connect the robot and check camera calibration and the coordinate transform.
Accuracy and coordinates
Distinguish camera-relative positions from robot-base positions. Without calibration, depth estimates are inaccurate; an incorrect marker size distorts distance. No markers in frame means no markers were recognized, not proof that the image contains no objects.
Module 10 introduces markers in a teaching scene.
Buttons, fields and results
| Control | How to use it and what happens |
|---|---|
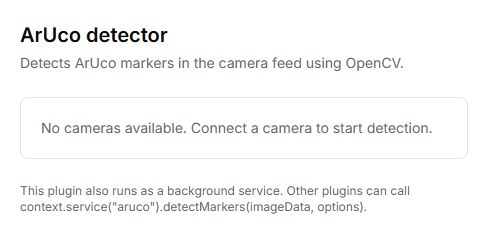
| Camera | Selects an image source when several cameras are connected. Without cameras, No cameras available replaces the panel; add a camera through the shared Lab panel. |
| Dictionary | Select the dictionary used to create the printed marker. A different dictionary prevents correct recognition; an ID is meaningful only together with its dictionary. |
| Marker size, cm | Enter the measured side length of the marker in centimetres. This size affects distance calculation. Do not enter millimetres in a field labelled cm. |
| Ready / Loading OpenCV… / OpenCV unavailable | Recognition-library status. Ready confirms that processing is available, not that a marker is present in the frame. |
| Camera calibrated / No calibration (depth inaccurate) | Shows whether camera intrinsics are available. Without calibration, estimated depth is inaccurate; run Camera calibration for the selected camera. |
| Detected markers | The list of detected IDs updates while the camera runs. No markers in frame means that no markers were recognised in the current frame. |
| relative to cam. | Marker coordinates relative to the camera, shown in metres. Check units before using them in another tool. |
| relative to base | Coordinates relative to the robot base appear when a camera transformation is available. They require a connection, configuration of the camera on the arm and correct joint positions. |
This panel has no separate Detect or Start button: processing begins when a camera is available and OpenCV is ready. Show the complete marker, select the correct dictionary and check that its ID appears in the list.