Force sensor
Observe a compatible sensor and troubleshoot missing readings.
Procedure
- Connect and power a compatible sensor according to the controller diagram.
- Connect the robot in Lab and open Force sensor.
- Verify detection and observe changes under a safe, small load.
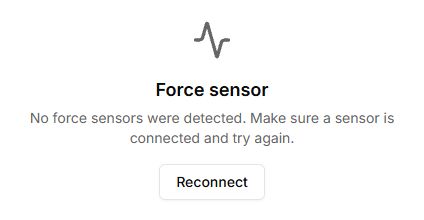
- If no sensor is found, check wiring and power, then use Reconnect.
Interpret readings
Check the units and your sensor’s calibration. Do not call a raw signal force in newtons without a defined conversion and calibration. This monitoring screen is not an independent collision-protection system.
Buttons, fields and results
| Control | How to use it and what happens |
|---|---|
| Connect robot | Opens the controller connection dialog. Sensor scanning starts automatically after connecting. |
| Scanning for sensors… | Wait for scanning to finish. This is a progress indicator, not a force reading. |
| Reconnect | Scans for sensors again using the current connection. It does not open a selector for another USB port. To change the connection, use the shared Lab connection menu. |
| Device ID=… | A separate card for each detected device. Match its ID to the connected sensor when using several sensors. |
| Gauge and N value | The current value is shown in newtons. This version multiplies the value read by 0.001. Check that this conversion matches your sensor. Gauge colour reflects a fraction of the interface scale; it does not define a safe load for your mechanism. |
| No force sensors were detected | No sensor was found; this does not mean zero force. Check power and the connection, then scan again. |
This tool has no controls for taring, changing the conversion factor or exporting measurements. Configure and check the sensor using its hardware documentation.