4. Calibration in Lab
After assembly, calibrate home offsets, then motion ranges. For a follower/leader pair, calibrate each arm separately using the correct model and port. Camera calibration is an additional step after the camera is fixed in place.
1. Prepare and connect
- Secure the base and clear the workspace.
- Check power, cables and all six unique motor IDs.
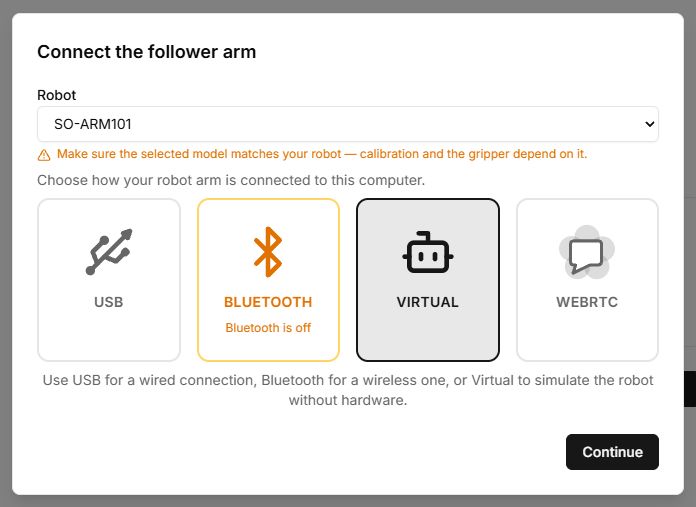
- Open Lab, select the matching model and USB, and allow access to the board port. Close any other tab or program using that arm if the port is busy.
- Keep power disconnection accessible. Do not force a motor that is actively holding position.
2. Home offsets
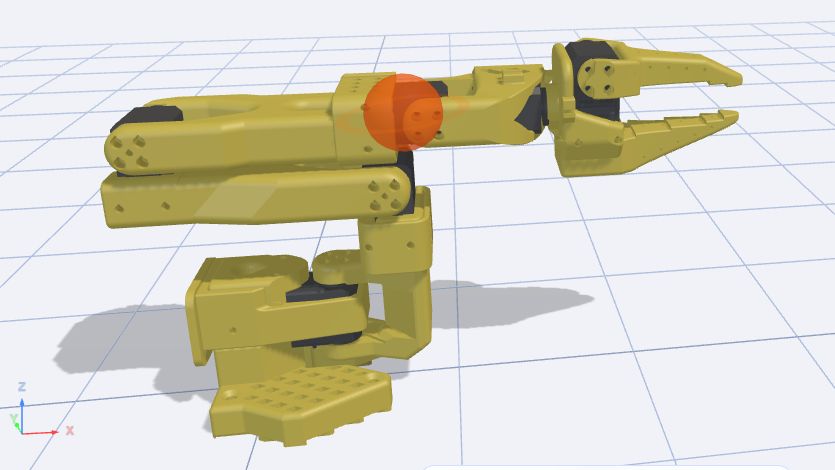
Open Calibrate motors. This sets the offsets used to display joint angles in Lab.
- Ensure all six motors are connected to the board.
- Follow the tool’s home-position instructions: carefully place the joints straight forward and match the displayed reference rather than the arm’s as-assembled pose.
- Press Connect robot, select the correct model and port, and follow the calibration steps.
- Wait for saving to finish. Do not disconnect power while values are being written.
3. Motion ranges
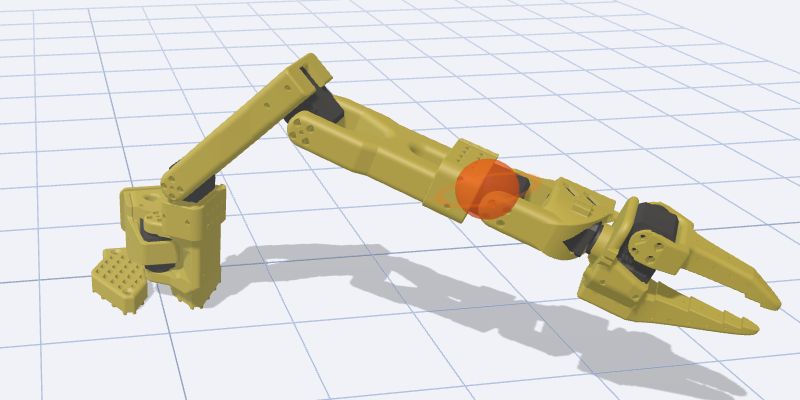
Open Calibrate robot to record the actual range of each joint.
- Make room around the arm and ensure the cables have enough slack.
- Press Connect robot and follow the tool’s measurement sequence.
- Stay within each joint’s mechanical travel. Never force a hard stop to obtain a larger range.
- Finish the procedure and wait for confirmation that it has been saved. Continue with small test movements.
4. Camera, if fitted
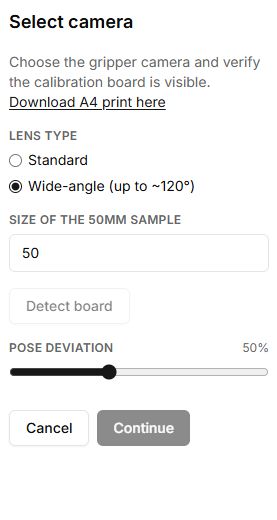
Camera calibration estimates lens parameters using a checkerboard. Use it for tasks that derive measurements from images; it does not replace motor calibration.
- Fix the camera in its final position and prepare the checkerboard specified by the tool.
- Sign in to Lab. On first use, the tool requests the OpenCV dependency.
- Select the camera and follow the capture instructions, showing the board at different positions and angles without motion blur.
- Save the result. Repeat calibration if the camera is moved or refocused.
When to repeat
After replacing a motor or rebuilding a joint, repeat home and range calibration, then test movement. Recalibrate the camera after changing its mounting.