SO-ARM101 assembly and calibration
Assemble the SO-ARM101, assign motor IDs and calibrate it in Robonine Lab. This guide includes all 16 main videos: 3 on electronics, 8 on the follower and 5 on the leader — approximately 39 minutes of video. Allow additional time for assembly and pause after each action.
The follower performs the movements. The leader, with a handle and trigger, controls it during teleoperation. If you only have a follower, skip leader assembly and continue to calibration.
Work in this order
| Step | Guide | Result |
|---|---|---|
| 1 | Board and motor setup · videos 1–3 | Unique motor IDs |
| 2 | Follower assembly · videos 4–11 | Assembled and wired follower |
| 3 | Leader assembly · videos 12–16 | Assembled leader |
| 4 | Calibration in Lab | Home offsets and motion ranges |
| 5 | Checks and teleoperation | Verified joint movement |
Prepare your workspace
- Your kit’s parts, motors, cables and correctly rated power supplies.
- A screwdriver, hex key and marker or labels for motor IDs.
- M2×6 and M3×6 fasteners for the main assembly; the shown camera mount uses M2×8, M2 nuts and M3×8. Match the fasteners to each video step.
- A computer with desktop Chrome or Edge and a data-capable USB cable.
- A clear table and base fixing. Keep follower and leader components separate.
Power and mechanics
USB does not power the motors. Match the supply to your motors’ ratings: the follower C018 setup video uses 12 V. Do not assume the same voltage for the leader. Disconnect power before changing wiring. Never force joints beyond their stops or strip plastic threads by overtightening.
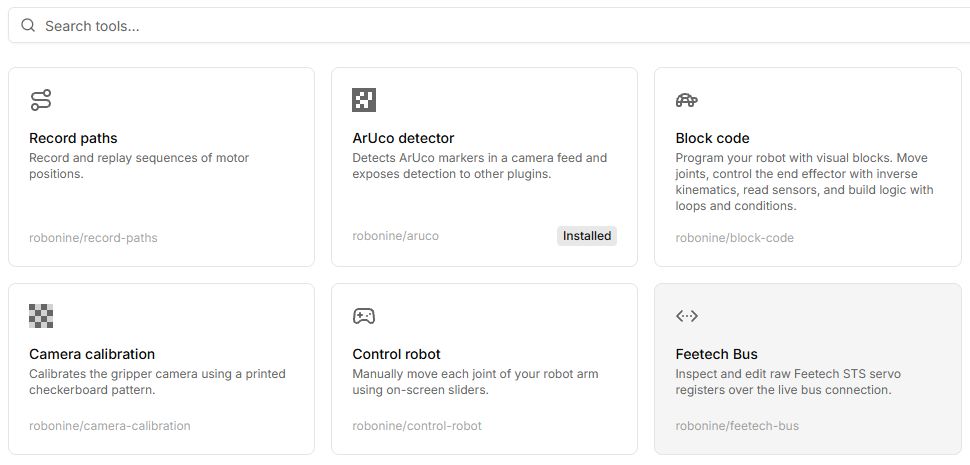
Find the tools
Open the Lab catalog.
Videos play directly on the page without a Google Drive login. The original narration is in English. Use fullscreen for details or download the MP4.